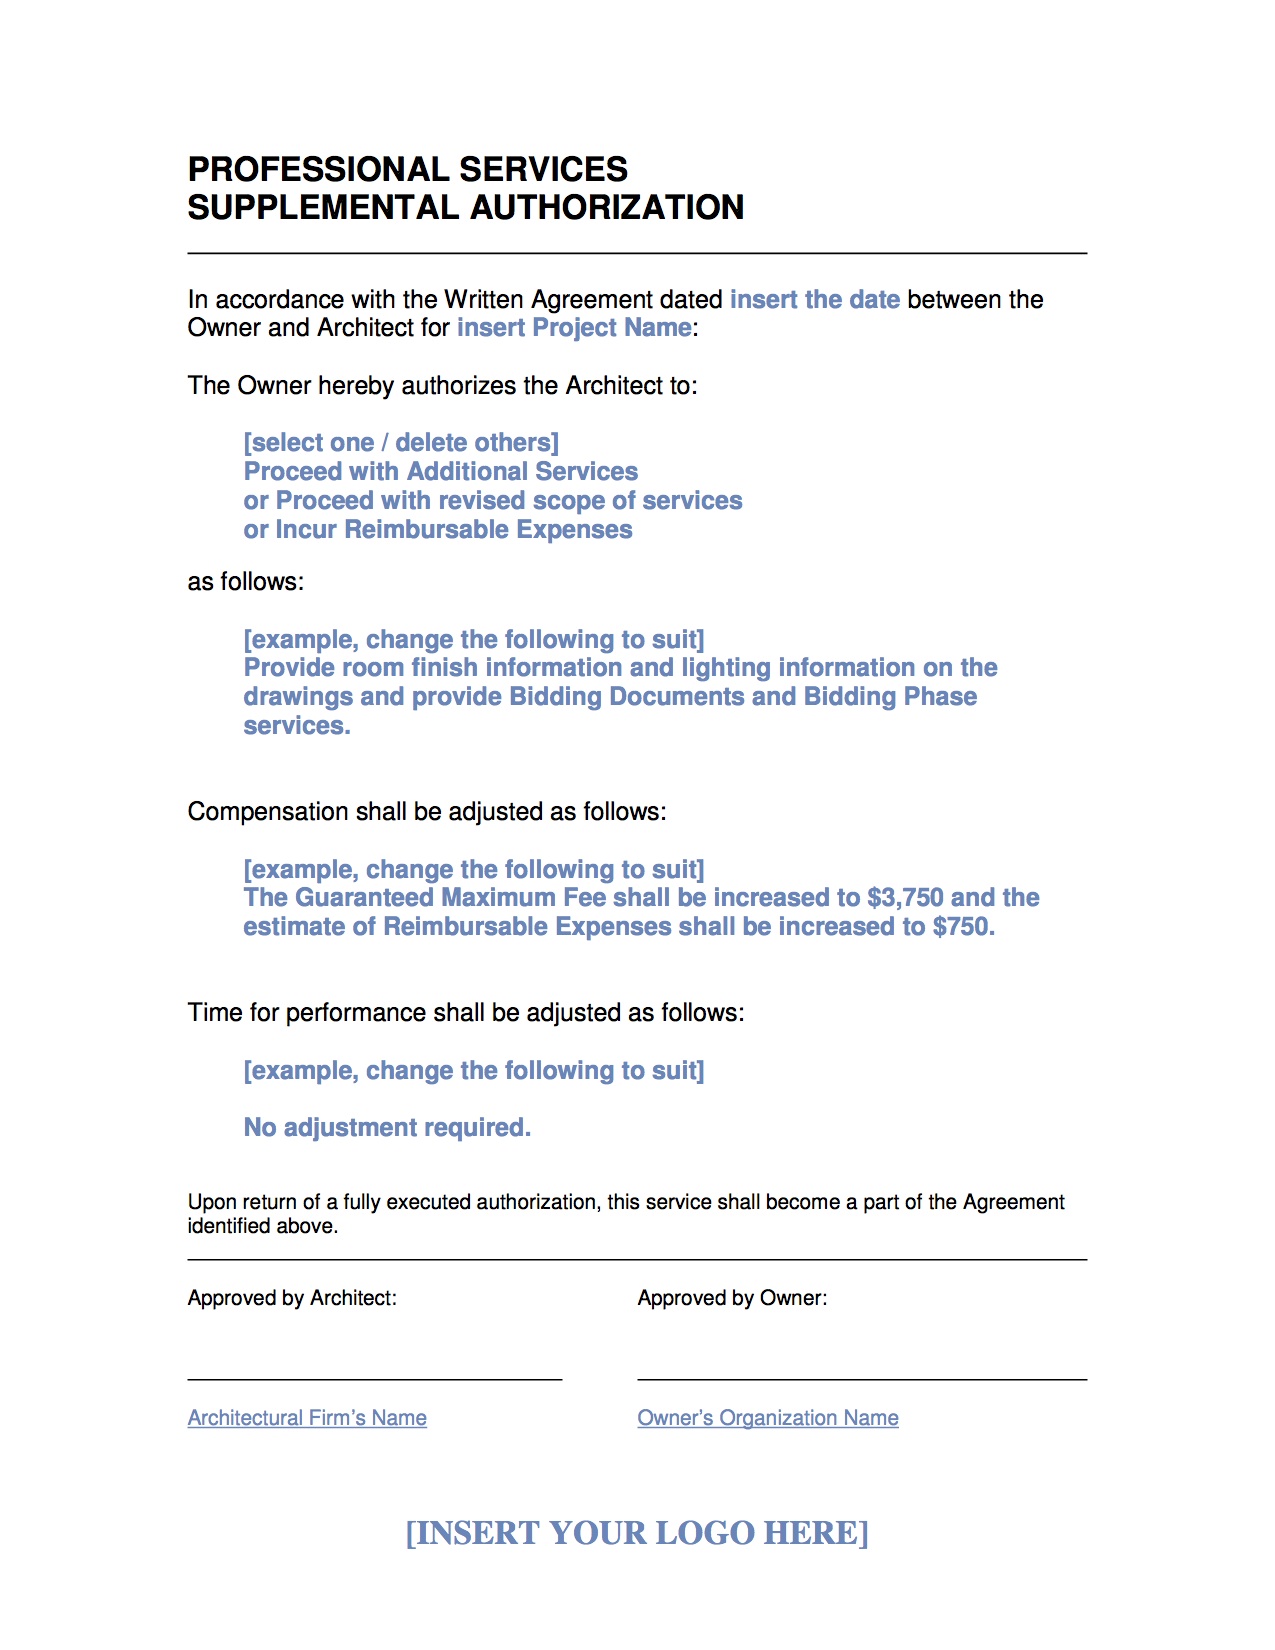
 Kick off Construction with a Pre-Construction Meeting. This can take place as soon as a contractor has been awarded the work. Even before a contract has been signed is not too soon. The document below is the agenda that we customize for each Pre-Construction Meeting. The Pre-Construction Agenda is downloadable. Very often you may want to have the contractor get started without waiting for preparation and signatures on the Construction Contract. The Contract is important but everything should be known once the award of the work takes place. It is just a matter of waiting for the attorneys. If that is the case, issuing a Notice To Proceed [NTP] is normally recognized by the contract as establishing the official start date for construction. The NTP is simply a letter giving official notice. An example is below the agenda here and can be downloaded by clicking the image or here.   Remember design projects in school? Yeah, welcome to the real world. Rather than a blank slate, now there are limitations everywhere. When you are beginning a design project, it helps to know where those limitations lie before you have to rework your design to accommodate them. Take a look at this tool for setting a design strategy that will work. Or use it to ask the right questions before you start designing. Click the image or here to download a copy. 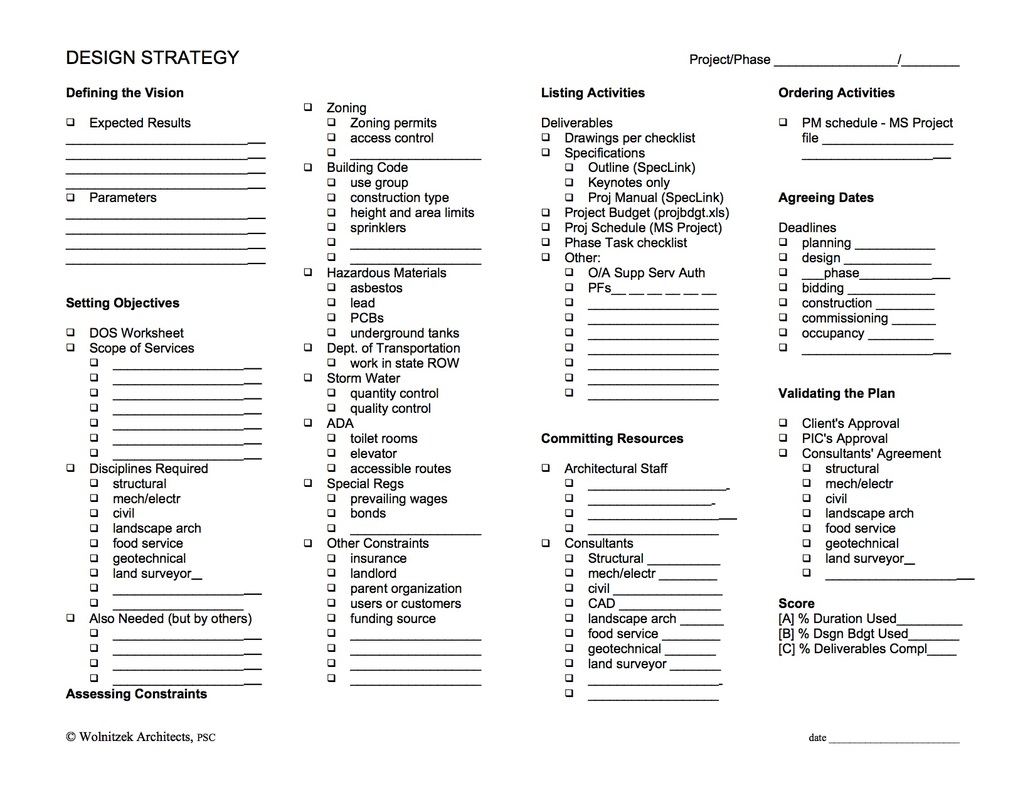 Pre-Bid Meetings are pretty hard to justify based on what the participants get from them. Nevertheless most public clients like the ’due diligence’ feeling you get from holding a pre-bid meeting. Below is a master agenda we edit for the project at hand. In spite of all this great info we review at the meeting, none of it is new. Every bit of it is in the bidding documents. It has to be. Hearing it may help the bidders, but that isn't the architect’s job. There are never any good questions, because no one has looked at the drawings yet. The typical question, if you get any, is something like, ’Where do we submit the bid? Here?’ Download the Agenda here. Or click the image. You may have a different experience. If so, share it with us in the comments below. 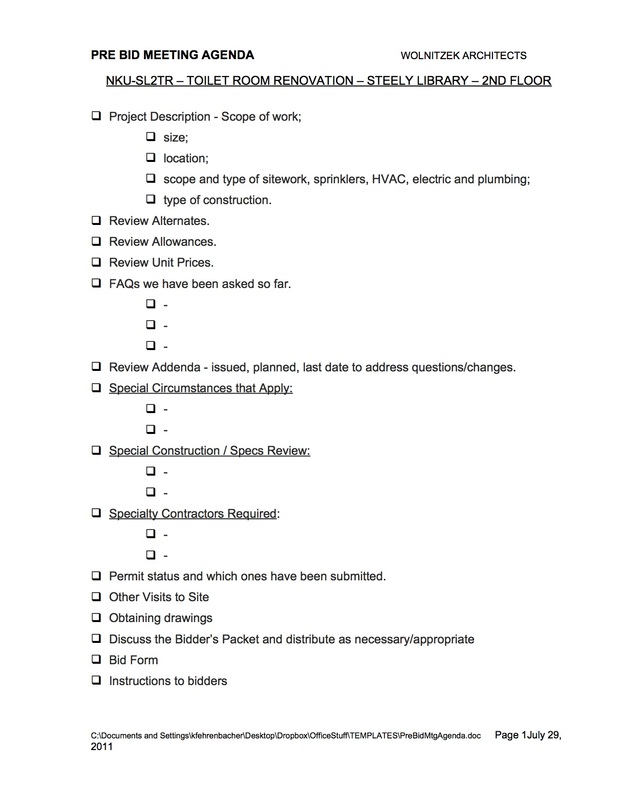  A project without Additional Services is pretty rare. No one likes to talk about an increase in fees. Which do you prefer? Losing money, but having a content client? Or getting paid fairly even if there is some discomfort involved? Or maybe you are working by the hour or your fee is a percent of construction cost. Charging by the hour takes care of additional work automatically. The fee as a percent of construction cost might work if the change increases the cost of construction proportionally to the extra work. Often it doesn't. A fixed fee never gets you paid for a change. So here's what you do. Adopt a simple one-page form that you can complete in a minute or two and email to the client for a yes or no. We use this simple form. Here are the ways that it plays out.
We have found that no one faults you for being business-like unless they were hoping to take advantage of you. Getting paid for everything that you do is a form of Business Development! The Supplemental Authorization form (Word Docx) for documenting additional services is now offered in the Archives as part of MGMT-01. Get access when you Sign Up.
See revised version of this topic. UPDATED Mar 30, 2015  Over the years we have bid a lot of projects both privately and publicly. We have also documented our process to avoid 'reinventing the wheel'. The following describes the steps in our process. Several of the documents or forms that we use are downloadable by clicking their name. Perhaps this will be helpful to you. Questions? Use the Comments to ask...
See PREPARING TO BID A PROJECT for preliminary tasks. DURING BIDDING You have your project 'on the street'. Now what do you need to do?
It is extremely rare to go through a bidding period without at least one addendum. It isn't unheard of to issue some of the documents by addendum. That isn't recommended because coordination and completeness of the documents can become awkward. Your goal is to give the bidders a clear idea of what is required of them. Addenda invariably get ignored and that causes other problems for everyone. The last addendum must be received at least 2-3 days before bid due date or you should postpone the due date in the addendum. The timing and method of delivery of any addendum is often covered in the (Owner provided!) Bidding Documents, so make sure you comply. PREPARATION FOR THE BID OPENING (PUBLIC)
BID OPENING PROCEDURES (PUBLIC)
PREPARATION FOR THE BID OPENING (PRIVATE) See the description of the preparation for a public bid opening above. A private opening would take place in the architect's or the client's office and is informal. The same process is followed without an audience of bidders. BID OPENING PROCEDURES (PRIVATE) See the description of the Bid Opening Procedures for a public bid opening above. A private opening is as informal as you want to make it, but most of the steps still apply. Since the bidders are not present, you can expect a flurry of inquiries within an hour or so of the bids being due. Decide with your client what results and when the results will be disclosed. Even if it isn't the actual results, I suggest that you make the plan for disclosure available if you haven't done so yet. POST BID ACTIVITIES
Once the Owner/Contractor agreement is signed or a Notice To Proceed is issued, you are ready to start the Construction Administration phase of the project.  Over the years we have bid a lot of projects both privately and publicly. We have also documented our process to avoid 'reinventing the wheel'. The following describes the steps in our process. Several of the documents or forms that we use are downloadable by clicking their name. Perhaps this will be helpful to you. Questions? Use the Comments to ask...
PRELIMINARY TASKS These tasks should have been completed in earlier design phases. Verify that they have been.
PUBLIC VS. PRIVATE The main differences between public and private bidding is 1] who is permitted to bid and 2] how documents are distributed. Who to permit to bid. For public bidding you cannot restrict who bids except to place bonding requirements (often required by regulations) and minimum experience requirements on the potential bidders. For private bidding, the bidders should be by invitation only. Invite only firms you know can complete the project satisfactorily and let their bids decide who will be awarded the project. Three to six bidders is ideal. The more bidders, the less enthusiasm for bidding. How documents are distributed. For public bidding it is fairly common these days to make the documents available at cost to whoever wants them. Alternatively, you can require a deposit (about 150% of actual cost) which is returned to the bidder when he returns the plans. Plans are usually placed with plan rooms also who provide a notification service to contractors. For private bidding, you would distribute documents the same way except that you might just give the documents to the bidders in recognition of the invitational nature of the bidding. You would not place the drawings with plan rooms unless your invited bidders want to do that. The reason for no plan rooms is that uninvited bidders will submit bids, thereby undermining the concept of only pre-qualified bidders, any of which you would be happy to work with. Remember the old saw: "The low bidder is the guy who made the biggest mistake." TASKS AT THE START OF THE BIDDING PHASE
DISTRIBUTING DOCUMENTS There are three ways in which to distribute the Bidding Documents to the bidders depending on the technology available to you (and that the Owner's process permits you to use). The TRADITIONAL method is to print multiple sets of drawings and distribute them from the architect's office. The architect collects deposits or payments for the bidding sets and track contact information about the bidders for issuing addenda. As you might imagine, this is a big, disruptive task. The MODIFIED TRADITIONAL method is to print bidding sets as needed and distribute them from the reproduction house, who tracks information about the bidders and issues addenda and returns deposit (if any). This delegates the whole process; and the only drawback is that you are responsible to the Owner, but a third party is taking care of the task without oversight. The ELECTRONIC PLAN ROOM is the ideal solution because it mimics the Modified Traditional method but everything is documented online where you can monitor the process. See BIDDING ACTIVITIES continuation article (coming soon) for tasks during and after bidding.  This is Design Process Checklist CD-1. The concept for these checklists was explained in an earlier post, Design Process Checklists.
GENERAL - STEP I * Identify CD deliverables * Disciplines coordination/document checking * Submit for zoning permit SITE PLANS - STEP I * Verify / update these items below * Property line * Street names for adjoining streets * Title block information (sheet title and number) * Drawing titles and scales * North arrow (incorporated into plan title) FLOOR PLANS - STEP I * Verify / update these items below * Title block information (sheet title and number) * Drawing titles and scales * North arrow (incorporated into drawing title) * Site features immediately adjacent to building * Finished floor elevation indicated with a bullet * Column centerlines extending through the entire plan * Column designation bubbles labeled * General note about dimension system that is being used * Structural bays dimensioned * Overall building length and width dimensioned * Directional arrows on stair plans (even if an enlarged plan is drawn) ROOF PLAN - STEP I * Verify / update these items below * Title block information (sheet title and number) * Drawing titles and scales * North arrow (incorporated into drawing title) * Column centerlines not extending through the entire plan * Column designation bubbles labeled * General note about dimensioning system that is being used * Structural bays dimensioned * Overall building length and width dimensioned REFLECTED CEILING PLANS - STEP I * No tasks ELEVATIONS - STEP I * Title block information (sheet title and number) * Drawing titles and scales * Finished floor elevations indicated with a bullet * Column centerlines not extending through the entire elevation * Column designation bubbles labeled * General note about dimension system that is being used * Finished grade at building face drawn as heavy line * Elevation of exterior features indicated with an elevation bullet BUILDING SECTIONS - STEP I * No tasks WALL SECTIONS - STEP I * Add / verify / update these items below * Title block information (sheet title and number) * Drawing titles and scales * Finished floor elevations indicated with a bullet * Column centerlines extending through the entire wall section * Column designation bubbles labeled * General note about dimension system that is being used * Roof slopes drawn correctly * Structural foundations, footings, and/or caissons drawn as broken lines if beyond VERTICAL CIRCULATION - STEP I * Input to floor plans, framing plans, sections, elevations DETAILS - STEP I * No tasks ENLARGED PLANS & INT ELEVATIONS - STEP I * No tasks SCHEDULES - STEP I * No tasks EQUIPMENT - STEP I * Input to floor plans, sections, elevations STRUCTURAL - STEP I * Basement floor plan MECHANICAL SYSTEMS - STEP I * Detailed systems selection * System drawings and key details * Input to floor plans, framing plans, sections, elevations ELECTRICAL & LIGHTING SYSTEMS - STEP I * Detailed systems selection * Input to floor plans, sections, elevations  This is Design Process Checklist CD-2. The concept for these checklists was explained in an earlier post, Design Process Checklists.
GENERAL - STEP II * Disciplines coordination/document checking SITE PLANS - STEP II * Step II * Parking area located dimensionally * Handicap parking spaces designated * Radius information dimensioned and noted * Concrete walks with expansion joints labeled and referenced to details * Heavy outline of building footprint with finished floor elevation labeled * Building located dimensionally from property lines * Utility lines, powerpoles, transformers, traffic signals, manholes * All exterior lighting including references to details * Existing grades * Existing spot elevations * New grades * New spot elevations * Show encroachment permit requirements on drawings FLOOR PLANS - STEP II * All changes in planes on exterior walls dimensioned * All penetrations in exterior walls dimensioned (i.e., windows and doors) * Wall sections cross-referenced * Building sections cross-referenced * Enlarged plans cross-referenced * Interior elevations cross-referenced * Building elevations cross-referenced * Recessed door mats dimensioned, referenced and detailed ROOF PLAN - STEP II * Major features of roof dimensioned (including rooftop mechanical equipment) * Roof drains dimensioned and referenced to the appropriate discipline and to the details * Roof slope elevations labeled with spot elevations REFLECTED CEILING PLANS - STEP II * Title block information (sheet title and number) * Drawing titles and scales * North arrow (incorporated into drawing title) * Column centerlines not drawn through entire plan * Column designation bubbles labeled * Interior partitions that do not penetrate the ceiling plane drawn as double lines with no pattern * Interior partitions that do penetrate the ceiling plane drawn as a double line with a dashed pattern * Doors into rooms drawn lightly * Show acoustical panel grid (tees) * Ceilings that are open to structure above appropriately noted ELEVATIONS - STEP II * Wall sections cross-referenced * Building sections cross-referenced * Control joints labeled, referenced and detailed * Window types indicated BUILDING SECTIONS - STEP II * No tasks WALL SECTIONS - STEP II * Show components of walls * Show context / surrounding construction VERTICAL CIRCULATION - STEP II * Title block information (sheet title and number) * Drawing titles and scales * Plans - north arrow (incorporated into drawing title) * Stair plans * Elevator plans * Column centerlines extending through the entire drawing * Column designation bubbles labeled * General note about dimension system that is being used * Interior partitions dimensioned (including partition thicknesses) by continuous strings * All penetrations in interior walls dimensioned (i.e., door openings) DETAILS - STEP II * Site Details * Recessed mat details * Door sill details * Waterproofing/damp-proofing details * Perimeter insulation details * Wall control / expansion joint details ENLARGED PLANS & INT ELEVATIONS - STEP II * Title block information (sheet title and number) * Drawing titles and scales * North arrow on plans (incorporated into drawing title) * Plans - finished floor elevations indicated with a bullet * Plans - column centerlines extending through the entire drawing * Plans - column designation bubbles labeled * General note about dimension system that is being used * Interior partitions dimensioned (including partition thicknesses) by continuous strings * All penetrations in interior walls dimensioned (i.e., doors) * Plumbing fixture locations dimensioned * Shafts clearly indicated and dimensioned * Plans - door types * Plans - room names and numbers * Structure drawn and referenced to the structural consultant SCHEDULES - STEP II * Title block information (sheet title and number) * Drawing titles and scales * Finish schedule EQUIPMENT - STEP II * Equipment list STRUCTURAL - STEP II * Foundation plan * Floor framing plans * Roof framing plans MECHANICAL SYSTEMS - STEP II * Equipment list * Distribution and riser diagrams ELECTRICAL & LIGHTING SYSTEMS - STEP II * Lighting layouts and ceiling plans  This is Design Process Checklist CD-3. The concept for these checklists was explained in an earlier post, Design Process Checklists.
GENERAL - STEP III * Obtain zoning permit * Disciplines coordination/document checking * Complete Land Disturbance design and file for permit SITE PLANS - STEP III * Step III * Specifications * Note referencing name of site surveyor * Note to include the soils report as a part of the documents * Benchmark location and elevation * Fire hydrants * Existing trees and shrubs to remain * Test holes from soils testing indicated * Drive details referenced to details * Sign details referenced to details * Gutter details referenced to details * Curb details referenced to details * Handicap ramp details/plans referenced to details * Typical site details * Other miscellaneous details referenced to details * Material Indications FLOOR PLANS - STEP III * Interior partitions dimensioned (including partition thicknesses) by continuous strings * All penetrations in interior walls dimensioned (i.e., door openings) * Plumbing fixture locations dimensioned (unless there will be an enlarged plan drawn) * Shafts clearly indicated and dimensioned * Miscellaneous interior features dimensioned (only those that do not occur on enlarged plans) * Partition types indicated and referenced to details * Room names and numbers * Door numbers * Transformers, panel boxes, and telephone boards located and referenced to the appropriate engineering discipline * Roof drain leaders drawn and referenced to the appropriate discipline * Floor drains drawn and referenced to the appropriate discipline * HVAC equipment referenced to the appropriate discipline * Structure drawn and referenced to the structural consultant * Casework and countertops referenced to details ROOF PLAN - STEP III * Specifications * Wall sections cross-referenced * Building sections cross-referenced * HVAC equipment referenced to the appropriate discipline * Parapet details referenced to details * Roof hatches referenced to details * Skylights referenced to details * Roof curbs referenced to details * Other miscellaneous details referenced to details * Material indications REFLECTED CEILING PLANS - STEP III * Add materials legend ELEVATIONS - STEP III * Sign details referenced to details * Roof scuppers noted * Building-mounted lighting fixtures noted and referenced to the appropriate discipline * Building-mounted mechanical devices noted, referenced to the appropriate discipline, and referenced to the details as necessary * Building-mounted plumbing features noted and referenced to the appropriate discipline * Roof materials indicated (for pitched roofs) * Roof slopes noted (for pitched roofs) * Special finishing details noted * Other miscellaneous details referenced to details * Material indications BUILDING SECTIONS - STEP III * Title block information (sheet title and number) * Drawing titles and scales * Finished floor elevations indicated with a bullet * Column centerlines extending through the entire section * Column designation bubbles labeled * General note about dimension system that is being used * Roof slopes correctly drawn * Structural foundations, footings, and/or caissons drawn as broken lines if beyond WALL SECTIONS - STEP III * Other miscellaneous details referenced to details * Add dimensions * Add notes VERTICAL CIRCULATION - STEP III * Finished floor elevations indicated with a bullet * Specifications DETAILS - STEP III * Partition type details * Casework details * Roof details - typical system, parapets, hatches, skylights, curbs, drains, etc. * Signage and other exterior details * Wall section blow-ups * Window details ENLARGED PLANS & INT ELEVATIONS - STEP III * Plans - partition types indicated and referenced to details * Plans - wall sections cross-referenced as necessary * Interior elevations referenced * Floor drains drawn and referenced to the appropriate discipline * HVAC equipment referenced to the appropriate discipline * Casework and countertops referenced to details SCHEDULES - STEP III * Door Schedule * Windows - general note about dimension system that is being used * Windows - column centerlines * Windows - column designation bubbles labeled * Windows - detail cuts referenced to details EQUIPMENT - STEP III * Specifications STRUCTURAL - STEP III * Sizing of foundation elements * Sizing of framing elements MECHANICAL SYSTEMS - STEP III * Submit division of water design * Make division of plumbing submission (at 80%) * Make health department submission (at 80%) ELECTRICAL & LIGHTING SYSTEMS - STEP III * Distribution diagrams  This is Design Process Checklist CD-4. The concept for these checklists was explained in an earlier post, Design Process Checklists.
GENERAL - STEP IV * Make building permit submission (at 90+%) * Update budget and schedule * Disciplines coordination/document checking * Approval of CD design * Obtain Land Disturbance permit * Obtain building permit * Make code revisions SITE PLANS - STEP IV * Planting plan FLOOR PLANS - STEP IV * Material indications ROOF PLAN - STEP IV * No tasks REFLECTED CEILING PLANS - STEP IV * Ceiling heights indicated on plans * General note about dimensioning system that is being used * Structural bays dimensioned * Overall building length and width dimensioned * All penetrations in interior partitions that occur above the ceiling plane dimensioned * Metal access panels provided for access into areas above gypsum board ceilings * Metal access panel locations dimensioned * Lighting fixture locations dimensioned where necessary * Sprinkler head locations dimensioned where necessary * Air device locations dimensioned where necessary * Control joints in gypsum board ceilings labeled and referenced to details * Skylight details referenced to details * Soffit details referenced to details * Other miscellaneous details referenced to details * Material indications ELEVATIONS - STEP IV * No tasks BUILDING SECTIONS - STEP IV * Other building sections cross-referenced * Room names and numbers * Other miscellaneous details referenced to details * Material indications WALL SECTIONS - STEP IV * Material indications VERTICAL CIRCULATION - STEP IV * Plans - door types * Plans - room names and numbers * Ladder details referenced to details * Stairs - handrail details referenced to details * Stairs - guardrail details referenced to details * Plans - partition types indicated and referenced to details * Sections cross-referenced from plans * Structural features noted and referenced to the structural consultant as appropriate * Stairs/Plans - directional arrows * Stair details * Elevator details * Other miscellaneous details referenced to details * Material indications DETAILS - STEP IV * Gypsum expansion joint details * Skylight details * Soffit details * Building section blow-ups * Stair, elevator, ladder details * Miscellaneous enlarged plan details and interior elevations * Door details ENLARGED PLANS & INT ELEVATIONS - STEP IV * Other miscellaneous details referenced to details * Material indications SCHEDULES - STEP IV * Door head, jamb and sill details * Hardware, sealant, paint, concrete finish, and miscellaneous schedules EQUIPMENT - STEP IV * No Tasks STRUCTURAL - STEP IV * Important details * Specifications MECHANICAL SYSTEMS - STEP IV * Obtain plumbing permit * Obtain division of water permit * Specifications ELECTRICAL & LIGHTING SYSTEMS - STEP IV * Specifications  Albert Einstein said "A clever person solves a problem; a wise person avoids it". After reading this quote, it reminded me that project managers spend a lot of time (or should be) avoiding problems.
One thing that can help project managers avoid problems is to follow a Project Management Methodology (PMM). A PMM is a set of agreed-upon processes that assists project managers and teams to deliver a completed project with the minimum of rework.  --posted on LinkedIn--
Here is an outline of the private bidding process. Your first time out you should give yourself plenty of time. You will need bidding documents and general conditions in addition to your normal construction documents. * develop a list of suitable contractors, any one of which you would be happy to work with, minimum three, maximum of six * prepare and send them an invitation to bid * make all the documents available through your repro shop's online plan room at their own cost * set a bid due date and time that gives the contractors three weeks from when drawings are available * have the bids due at your office or the client's; make it clear that the bid opening is private * issue a formal addendum if the need for more info or clarifications arise; this can be done by email * open the bids shortly after the deadline (with or without your client as they wish), tabulate the results, verify completeness, determine the best bid if there are alternates to consider, and report your recommendation to the client * make sure there is a contract The bidding documents you will need are the Invitation to Bid, Instructions to Bidders, Bid Form, General Conditions and Sample Contract or identification of what is intended. The client's attorney or insurance agent should provide some of the information. There is an AIA document that helps collect the needed information - G-603, I believe. Good luck! Update: There are two related articles. Preparing To Bid A Project Bidding Activities |


x
Archives
February 2024
Categories
All
|


Architekwiki | Architect's Resource | Greater Cincinnati
© 2012-2022 Architekwiki
© 2012-2022 Architekwiki